Wednesday 3 June 2015

Cuckoo for Coconuts

Not only do coconuts remind me of my most favourite place in the world (Hawai'i), but they are very versatile.  Think of its many forms: young fresh coconut, mature fresh coconut, coconut oil, light and premium coconut milk, coconut cream, shredded and flaked coconut.... the list goes on!  Now consider the many ways to USE coconut: in dairy-free ice cream; in curries and some stews; as a replacement for cow's milk and butter in many recipes; in making sweetened condensed coconut milk and coconut whipped cream (thanks Detoxinista for all the wonderful ideas); and making delicious Tropical Oat Bars .  So today's post is a tribute to the mighty coconut, as a further reminder of just how much fun coconut can be for a person with dairy allergies.


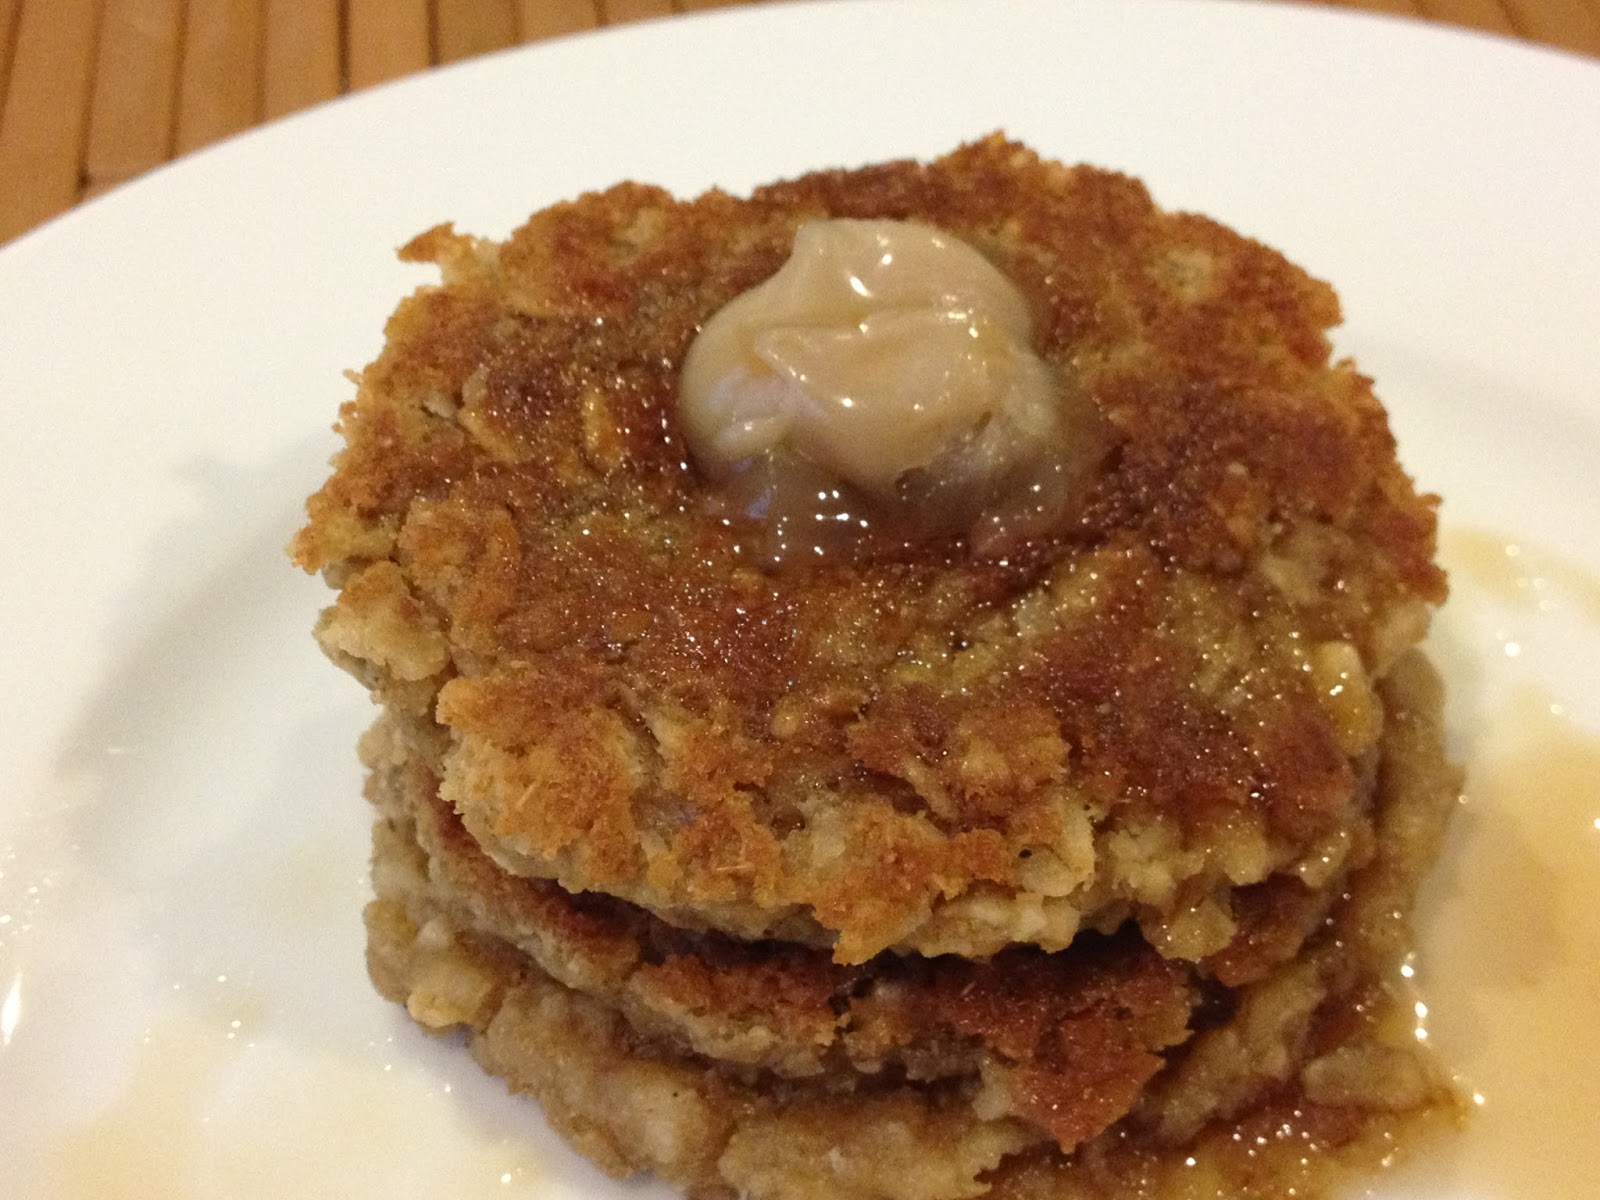
My coworker introduced me to Detoxinista's site not long after I was first diagnosed with all my allergies.  She told me that the site was filled with recipes that even my homeopath would approve of and she was so right.  Especially to appease my sweet tooth, her recipes have never steered me wrong.  Above is my results when I made her Easy Coconut Macaroons.  As the name implies it really was easy.  The only prep work required is the time-consuming yet still easy Sweetened Condensed Coconut Milk.  Knowing what I know now it's easy for me to make random batches as well because I just combine the three ingredients until I get the desired consistency and flavour.  HIGHLY recommend.


I've also recently purchased the app from Hippie Lane, an Australian based company run by a fantastic group of people who cater toward certain intolerances.  Their goodies, *SWEETS*, are mostly raw and it started me off on trying some raw vegan desserts.  Even though I made some heavy alterations to the recipes to make it friendly to my diet, it's great inspiration!  Below is my adaption of their Chocolate Raspberry Layer Cake.  It's dense and delicious, rich and with a fresh cherry flavour!


Cherry Choco Layer Cake
Adapted from the Hippie Lane App


Crust:
1 cup pumpkin seeds
1 cup shredded unsweetened coconut
1/4 cup carob (or less of cocoa) powder
1/4 cup maple syrup
3 medjool dates, pitted
Pinch of salt

Filling (make sure all ingredients are room temp or ever so slightly warm for them to combine properly):
1 1/2 cups fresh young coconut flesh (sold in my grocer's freezer section so it must thaw first before use)
1/2 cup maple syrup
1/2 cup melted coconut oil, barely warm
5 tbsp full fat/premium coconut milk
1 tsp vanilla extract
Pinch of salt
1/2 cup carob powder 
1 cup cherries (if frozen, needs to be fully thawed and at room temp)
Up to 2 extra tbsp of full fat/premium coconut milk

'Chocolate Glaze'
2 tbsp coconut oil
1 tbsp carob powder
1 tbsp maple syrup


For the crust, in a food processor, process the pumpkin seeds until they're in small pieces, but not powdery. Turn off the processor and pile in the rest of the ingredients and pulse until sticky. It won't gather together but you should be able to press it firmly into an 8" round cake pan. Place in freezer while you make the filling.

For the filling, process the coconut flesh, syrup, oil and 5 tbsp milk, extract and salt together until smooth and creamy. Take 1/2 of the mixture and in a bowl, add the carob powder, once mixed spread it onto the base and place in the freezer while you make the cherry filling. 

Use the other 1/2 of the mixture, place in a blender or back in the food processor with the cherries and the extra coconut milk. Blend until mostly combined and smooth, though there will probably be bits of cherry left. Spread on top of your choco layer and place in freezer again. Freeze for 3-4 hrs.

For the glaze, combine all ingredients in a microwave safe bowl, and microwave at a power level 2-3 (out of 10) for about a minute until the coconut oil is just barely melted. Drizzle over the finished cake and place back in the freezer for 10 minutes. To serve, heat a large knife under very warm or hot water. Keep doing it with every slice for clean cuts and enjoy!

There's always more recipes out there with coconut, so if you can eat it, enjoy it and the many wonderful things that you can do with it! 

Finding Lost Treasure


I just about cried when I found this recipe.  I thought I had looked everywhere.  I had gone through my recipe binder (which is in serious need of updating but more on that another day), gone through every notebook and cookbook and everything in between to no avail.  Nothing.  I had lost my recipe forever.  It was so simple, and yet, I couldn't remember it.  Any attempts to recall it from memory had crashed and burned.  But one day, when looking for a different recipe, a single turn of a page changed everything.  I had found it.  A crinkled print-out with a familiar picture on it.  A handwritten word with a heart drawn around it in the corner to remind me to save the recipe.  It was back, my beloved recipe was back and breakfast was again in top spot in my heart.  Now I can share it all with you!

Oatmeal Coconut Pancakes
Originally found on The Kind Life website, but has since been taken down.

1 cup oat flour
1 cup quick oats
1 tbsp baking powder (though in a pinch, 2 tsp also works, perhaps even better)
1/4 tsp salt
1 cup coconut milk (or other milk of choice)
1/2 cup of applesauce (I just use a single-serve package, especially when camping)
1/2 cup of shredded coconut (optional, never exceed 1/2 cup in this recipe, it becomes dry otherwise)
1/2 cup of chocolate chips, or blueberries, etc. (optional)

Throw all of your ingredients into a bowl.  Stir.  If you feel it necessary, stir your dry ingredients in a bowl  first and then make a well and add your wet ingredients.  Allow to sit a few moments while a skillet heats up to medium-low.  Add coconut oil to a pan (or if you're camping and cooking bacon, cook a small amount of bacon and use the remaining bacon fat to grease the skillet).  Place about 1/4 cup amount of batter in the skillet for each pancake and push down so that it is about 1/4" thick. Since this isn't your usual pancake batter, it doesn't spread when you cook it so it's fine to leave just enough room for a spatula to flip them over.  Wait until the one side is golden brown and the edges appear dry.  You won't see bubbles in the top or anything like that so you just have to occasionally take a peek and make sure they're the desired colour.  Serve with whatever you like, be it maple syrup, Sweetened Condensed Coconut Milk or fresh fruit sauce.


While I was in my mourning period for my pancake recipe, when all I thought was lost, I tried to find alternative recipes for breakfast.  This winter I came across BAKED OATMEAL.  While pancakes will always have first place in my heart, this was a fast and easy alternative.  Most people were unsure of this recipe when they first heard of it, but once you've laid eyes on it, smelled it's wonderful aroma, and tasted it, you will be hooked.  So here's a bonus oat recipe, just because I know you'll love it.


Baked Oatmeal
There are a lot of baked oatmeal recipes out there, and this is a result of a lot of trial-and-error, and not really an adaption on just one recipe.

4 cups oats
2/3 cup coconut sugar (or maple sugar)
2 tsp baking powder
1 tsp salt
1 tbsp cinnamon
2-4 tbsp flax meal (or use 2 eggs with the wet ingredients if you prefer)
3 cups 'milk of choice' (i often water down a milk, who can afford to devote so much milk to one recipe???)
1 cup unsweetened applesauce (or two single-serve packages)
4 tbsp oil of choice (i use grapeseed, lately i feel like it has a buttery-like flavour, or you just use melted butter if dairy is not an issue)
1 cup raisins (optional)

Preheat the oven to 350 degrees.  Grease a 9x13" glass dish.  Stir all the dry ingredients together in a bowl, make a well and add in the wet ingredients and stir together. Let it sit for 5-10 minutes in the bowl, so that the flax meal can do it's thing.  Pour the batter into the prepared glass baking dish and bake in the oven for 45 minutes.  Half batches in an 8x8" pan will take about 25 minutes.  Basically, you want it to be golden brown on the bottom and sides and feel solid at the top when touched (not like it's still wet under the surface).  You'll have to let it cool for about ten minutes or so before you cut into it, and preferably eat them warm.  They also reheat very well, so bring them along to work the next day and tease your coworkers with the delicious scent when you take it out of the microwave or toaster oven. 

Variation:  sub the applesauce for pumpkin puree but add a little extra sweetness, I've had success adding 20-30 drops of vanilla liquid stevia instead of increasing the coconut sugar.  you can also use 1/3 cup coconut sugar and 1/3 cup molasses and use a pumpkin pie spice blend instead of just cinnamon.


Bad Friends Make Good Pasta

I am such a bad friend. I shared a picture on my IG  of a superfast pasta dish and didn't share how I made it. It was late, I was starvi...